
Don’t forget to go through the baking tips first, CHECK IT NOW!
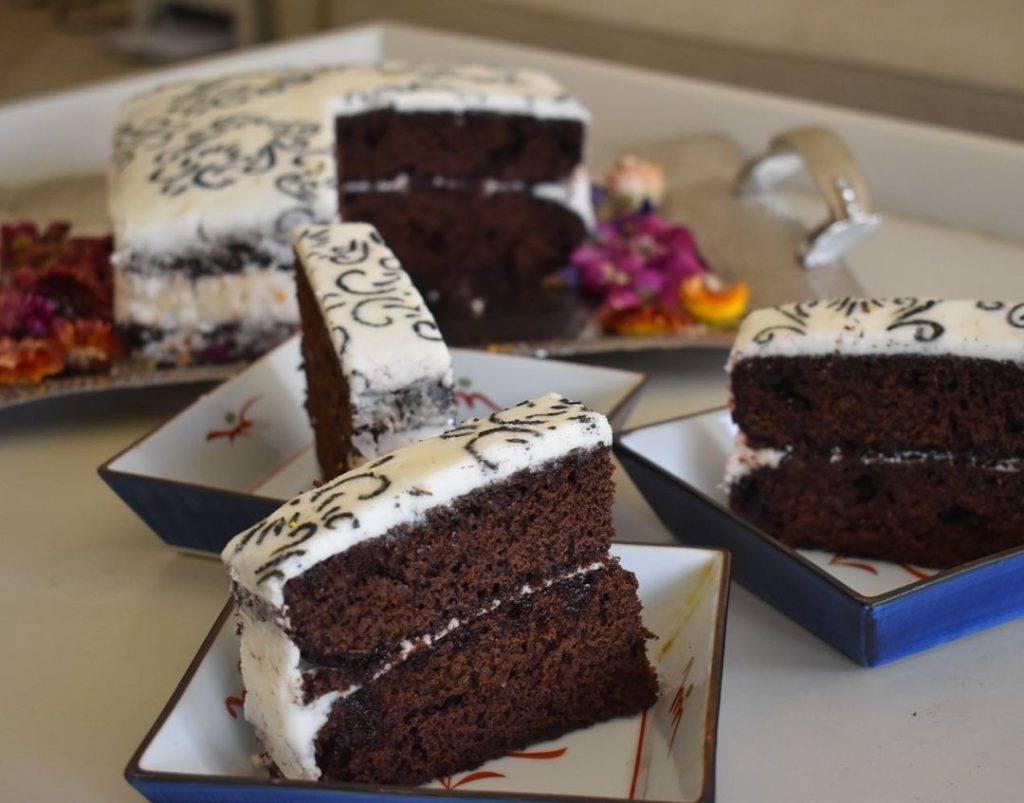
I would love to do more Henna inspired cakes. In Sudan, henna is a sign of weddings and celebrations to come. It’s a tradition that has carried through decades, and its lovely to also see it in India and so many other countries. The designs are intricate and elegant. I combined Henna with chocolate to symbolize my country. A soft cake with a sweet creamy frosting for your enjoyment.
Prep time: 30 mins – Cook time: 30 mins – Assembly time: 3 hours (including 2 hours chilling time)
Ingredients:
- 3 cups flour
- 1 cup sugar
- 1 ½ cups cocoa
- 1 tablespoon baking soda
- 1 ½ teaspoon baking powder
- 1 ½ teaspoon salt
- 4 eggs
- 1 ½ cups buttermilk
- 1 ½ cups hot water
- ½ cup oil
Equipment:
| Measuring cups and spoons |
| Two 9*9 inch / 23 * 23 cm square cake pans |
| 2 large bowls |
| Standing electric mixer |
| Cake design stencils |
| Food coloring (any colors of your choice) |
| Offset spatula or knife |
See recipe for the vanilla buttercream frosting HERE.
How to…..
Preheat the oven to 350 degrees Fahrenheit / 176 degrees Celsius
Cake
Mix all the dry ingredients. Then add the wet ingredients and mix with a handheld electric whisk. Pour into the pans. Bake for 30 mins until a toothpick comes out dry. Leave to cool completely.
Frosting
After you make your vanilla buttercream frosting, take about 1 cup of frosting and add food coloring of your choice. If you want to use more than one color, split the icing into different bowls and add a drop or two of the food coloring gel to each bowl. I just did one color – black.
Assembly
Put one cake on top of the turntable. Put ½ cup of the frosting on top and smooth out with an offset spatula. Place the other cake on top, with the top side down. This way you will get a smooth even top and not a dome shape for your cake.
Now do the cookie crumb coating. Start icing the sides of the cake first, and then move to the top. Use an offset spatula to put the icing. This is a thin layer of icing that is meant to just hold the crumbs, so don’t worry about how it looks. Chill in the fridge for about 1 hour.
Remove from the fridge and do the second layer of frosting. Start with the sides and then do the top. Make sure the frosting is even and straight – that’s important for doing the henna designs. Chill the cake again for about 1 hour.
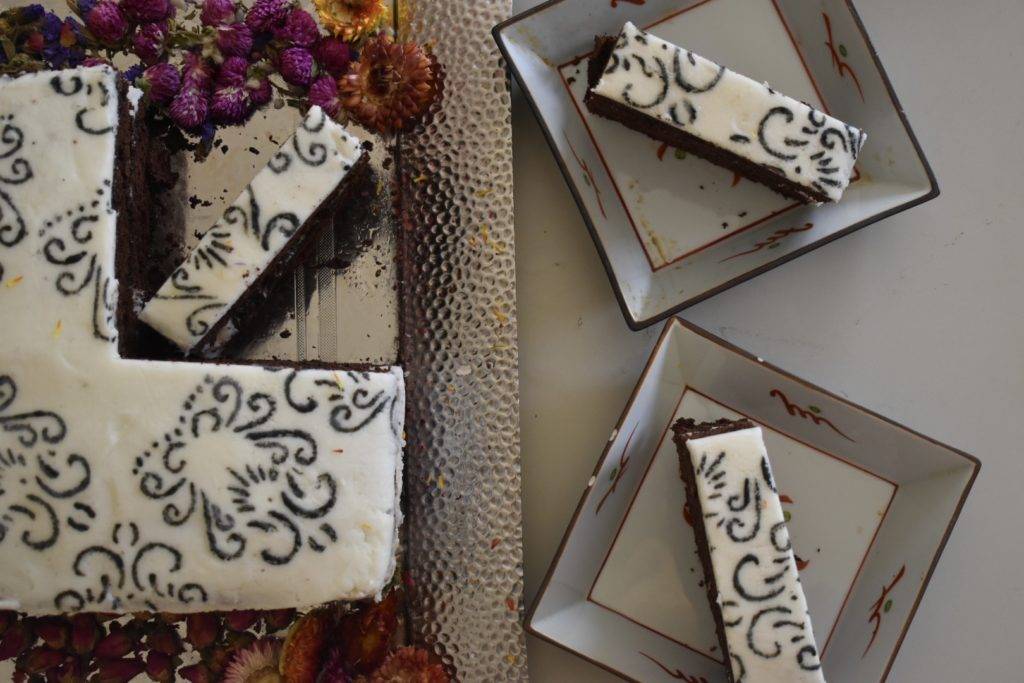
Remove the cake and put the cake stencil on top of the cake. Pin the ends of the stencil down so it
You may prefer to do a round cake. This recipe can be used to make 3 round 8-inch cakes.